
It's time once again for a new installment of Homebrew 101, our blog series written by Collin Corcoran, our Senior Print Designer. Collin recently started all-grain brewing and wanted to document his progress to share with our readers. In the previous installments he's written about building a mash tun, making a yeast starter, mashing in, and boiling. Today's topic: bottling! Let's get started...
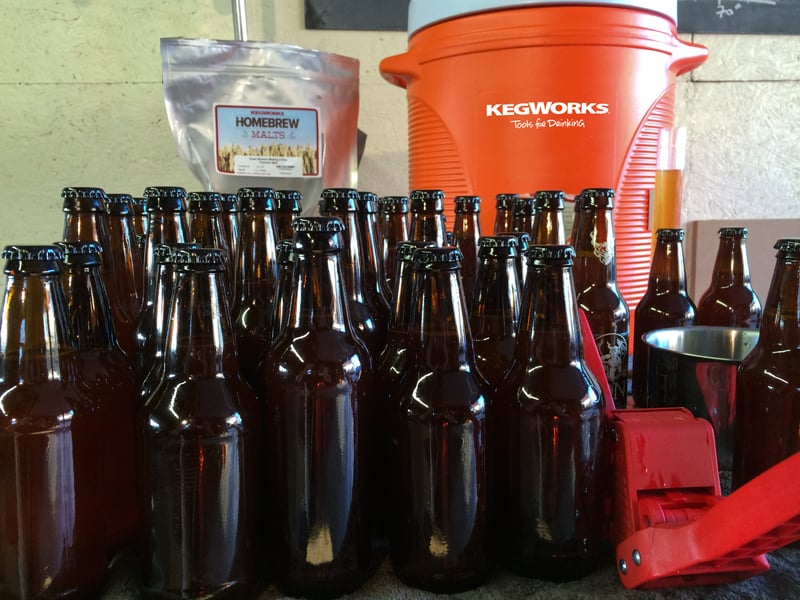
The first thing you have to think about when it's time to bottle your brew is the bottle itself. Choosing the right bottle for your needs is key, so you have to spend some time figuring out how you want to store and serve your beer. My goal was to have my homebrew readily accessible and easy to transport so I could take it over to friends and relatives houses to share.
I chose the classic amber beer bottle (11.2 oz./330 mL). This style is exactly what you get with your standard six or twelve pack you see on store shelves. The amber colored bottles deflect most light away from your precious brew, which is important because the UV rays in light will really hurt the quality and freshness of your beer. Also, please note that you absolutely MUST use pop-top bottles. Screw tops (like what you find on most macro brews) will not hold a seal very well, and you'll end up with spoiled beer.
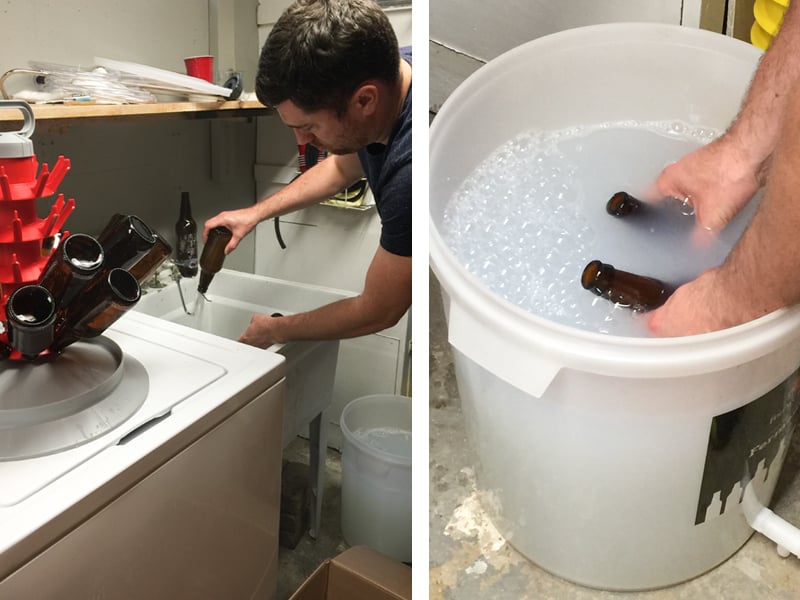
Preparing your bottles for bottling day is very easy. You want to clean them thoroughly until they sparkle inside and out. I have found that soaking your bottles in an oxygen-based cleaner for about an hour will strip off any old residue or bacteria, but if they are really nasty - maybe because of some leftover yeast sediment from previous brews - you will need to scrub out the residue with a pipe cleaner and re-soak in your oxygen based cleaner.
After your bottles have soaked for a bit, rinse them out with a bottle washer (hot water, as hot as it gets!), then dunk them into your sanitization solution for a quick rinse, and place them on your bottle tree. If you want to save time and effort, I recommend cleaning and sanitizing all your bottles in one giant batch, and then moving right to filling them up before they even dry.
But before you actually start bottling, you have to add priming sugar to your beer so that it's properly carbonated. Depending on how much carbonation you want, the level of added sugar will vary. Check out the pros over at Brewer’s Friend for a handy-dandy calculator.
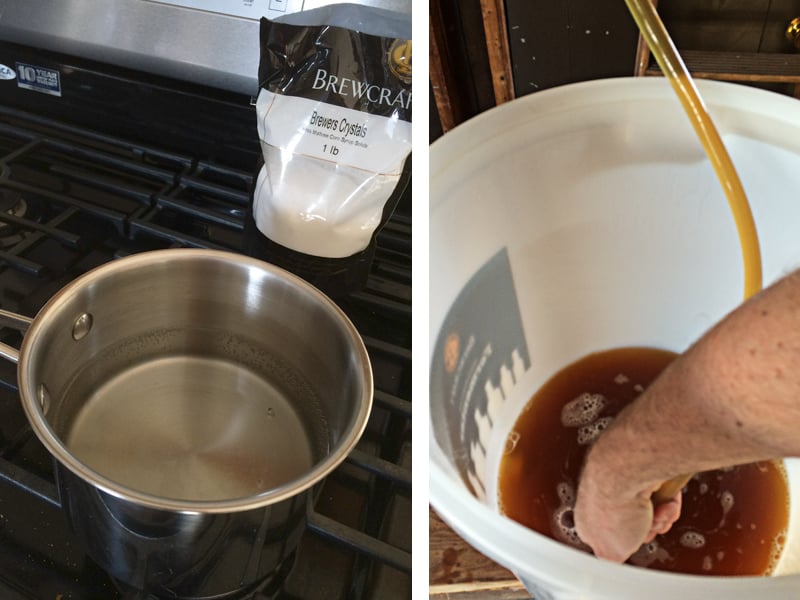
For my Genesis IPA recipe, I used ¾ cup of Homebrew Brewer's Crystals to reach the level of carbonation I wanted. Once you determine how much priming sugar you need, combine it with two cups of water in a small pot, then boil on your stove. When it reaches a rolling boil, turn off the heat, and let it cool down completely.
Once it's sufficiently cooled off, add the sugar solution to your bottling bucket. Then, transfer your fermented beer into the bucket on top of the priming sugar solution to ensure even distribution of the sugar throughout your beer - in other words, an equal carbonation level in every beer. You may even want to add an additional bit of sugar to your beer at this stage, just before you bottle, to provide the live yeast a little bit of extra food for perfect carbonation.
Now that your beer is primed and ready, it's time to get down to bottling. You already have clean bottles on your bottle tree, so basically, all you have to do is grab a bottle, fill it up, and repeat until done.
Be sure to leave about 1½ inches of headspace to allow room for the carbon dioxide that builds up while the yeast works on the priming sugar. If you leave too little headspace, you may end up having beer bottles exploding due to the gasses having nowhere to go.
Helpful Tip: while you're filling your bottles with beer, you should also fill up a container with sanitizer solution, and let your caps soak for about 10 minutes before you start capping individual beers. This ensures there is no bacteria slipping into your precious brew.
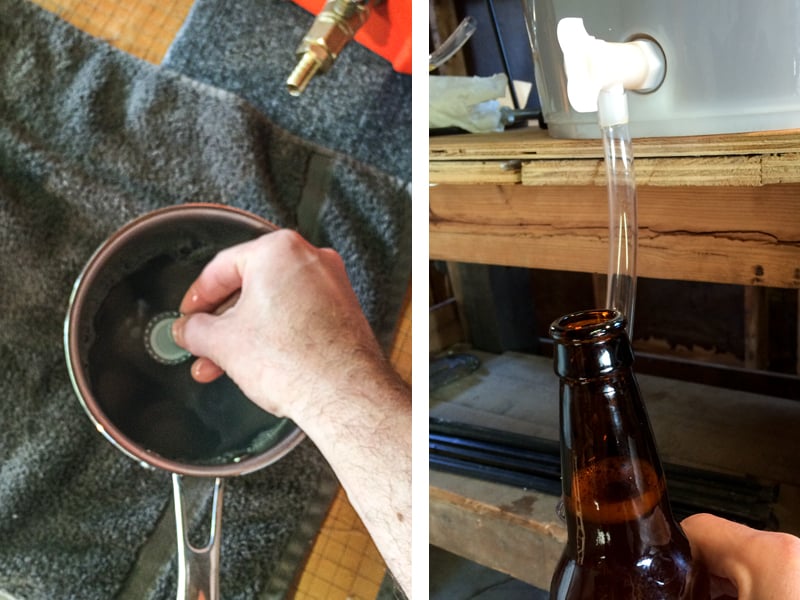
With the beer in the bottles and the caps sanitized, it's time for the final step: capping! It's important that you find a flat, sturdy surface for your capping because the last thing you want is any spills or accidents at this late stage in the game.
The capper device I purchased is called an Emily Wing Capper . It's very easy to use (self-explanatory really), and it works efficiently on any sturdy surface. On bottling day, I asked a buddy to come over to help speed up the process. As I was filling bottles, he was capping them off, and when all was said and done, it took us about 20 minutes to fill and cap everything.
Once your bottles are all filled and capped, the final waiting game begins. Typically, it takes about two weeks for your brew to become properly carbonated. When those two weeks have passed, you're ready to enjoy your brew!
So that's basically the whole process. I really hope that you've learned something - I know I sure have! When I set out to brew my Genesis IPA, I was excited about the world of possibilities in front of me, and it's my sincere hope that you feel the same way as you're getting started on your homebrew journey.
We'll have one more installment of this blog series coming up later this week, where I talk about the experience I had entering one of my homebrew in a local contest.
As always, if you have any questions, please feel free to reach out through the comment section below or on the KegWorks Facebook Page. Thanks, everyone!
Leave a Comment