
Welcome to the second installment of our blog series that's all about brewing your first batch of all-grain beer. Our Senior Print Designer and new brewer, Collin Corcoran, is the man behind the kettle in this series and he's taking us all on a journey through his process. His first post focused on building a mash tun, and today's will teach you how to create your first yeast starter, an essential step in successful all-grain brewing. Take it away Collin...
Today, we’re going to be making our first yeast starter! For this quick tutorial we will be using liquid yeast strains, which generally require a little more work up front but in the end will help you produce a wider range of styles for your homebrew. Don’t get me wrong, dry yeast is also amazing, and can produce fantastic beer, but for the purposes of this tutorial we will be solely focusing on getting you all the necessary information to build your very first liquid yeast starter.
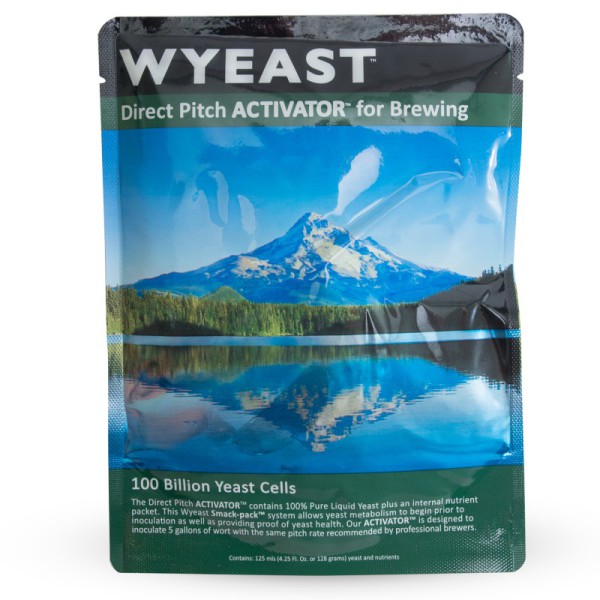
We will be using a Wyeast 1450 - Denny's Favorite 50 “smack-pack” for this tutorial. Wyeast is a leader in the yeast industry and their innovative "smack-packs" are great for a 5-gallon batch. Smack-Packs are engineered provide a great starter amount of yeast cells to convert your wort to delicious beer, but to ensure a successful fermentation we need a little bit more yeast to convert all of the sugars we have extracted during our brewing process. Thus, a starter is needed to build our yeast numbers higher and higher.
Smack, Smoosh, Shake:
To get started, grab your Wyeast bag and “smack” it on a counter top, then use your hands to "smoosh" around the nutrient bubble inside. You might even want to give it a little shake to ensure uniform dispersal. All of this allows the live yeast inside the bag a bit of food to get started fermenting. After a few hours it will begin to swell up like a balloon, and after roughly six hours your yeast is active! Now it's time to begin making your starter.
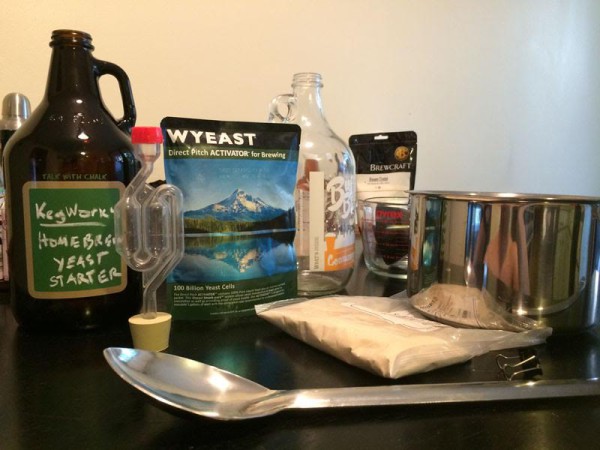
Equipment You'll Need:
- 1/2 Gallon of Filtered Water
- A Pot Big Enough To Boil That Much Water
- 1 Cup of Dried Malt Extract (DME) (I use Briess CBW Dry Malt Extract - Pilsen Light)
- 1/2 Tablespoon of Yeast Nutrient
- Dial Thermometer
- Ice
- A Standard Glass Growler
- A #6 Rubber Stopper With Airlock Hole
- S-Shaped Airlock
The Yeast Starter Process Begins:
The first thing you need to do is add the DME to your filtered water, bring that solution to a boil, and let that boil keep rolling for about 15 minutes. You'll want to keep an eye out for the "hot break" (the moment when the proteins in the wort solution build up and potentially cause your pot to boil over). If you see the "hot break" beginning to develop just spritz some water into the wort to prevent any problems.
Once the 15 minutes has passed it's time to dump in the Yeast Nutrient to ensure that your yeast has enough vitamins to multiply and grow to enough healthy cells for fermentation.
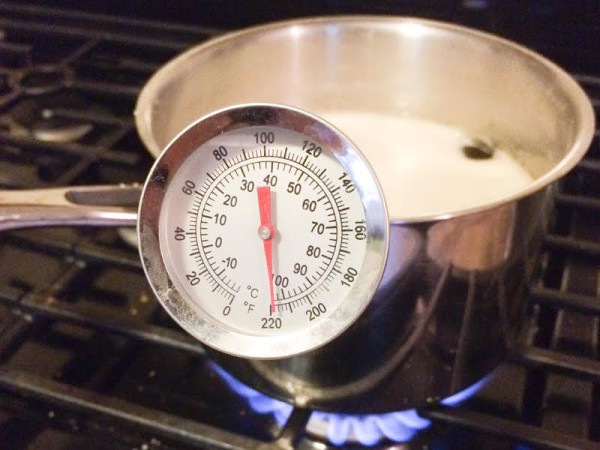
Cool Things Down:
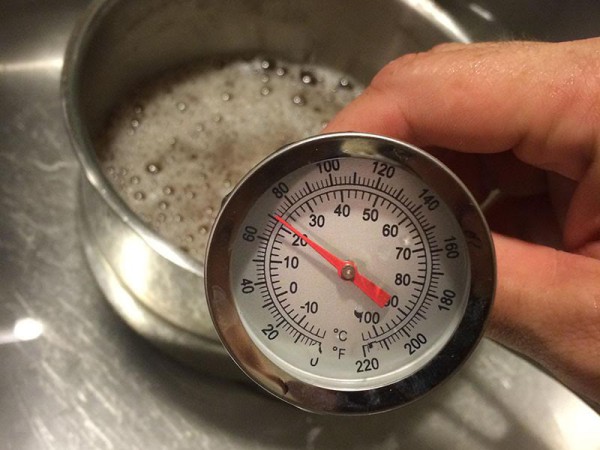
Once you've added the Yeast Nutrient, it's time to cool things down. Fill your kitchen sink at least half way with ice (I always empty my automatic ice bin from the freezer) then top it off with cold water from the tap. Gently set your pot with the wort starter into the sink, submerging it in the icy water. Be very careful not to let the sink water into your pot because it absolutely needs to remain sterile.
Gently swirl the ice around the pot until the temperature drops to 68°F. This would be the ideal fermentation temperature for the beer we're brewing in a few days, so it’s best practice to get the yeast used to this temperature and environment. That way, when we pitch it into the wort, it doesn't get shocked and cease to ferment properly.
Grab Your Growler:
Now that your wort is at the proper temperature, it's time to transfer it to your Yeast Starter container (aka your growler). Of course, before you add the wort to your growler, you have to make sure you've paid attention to proper sterilization. Fill your growler half way up with your preferred sanitization solution and swirl it around. Sanitize the stopper and airlock as well. Really, you can never be over-sanitized.
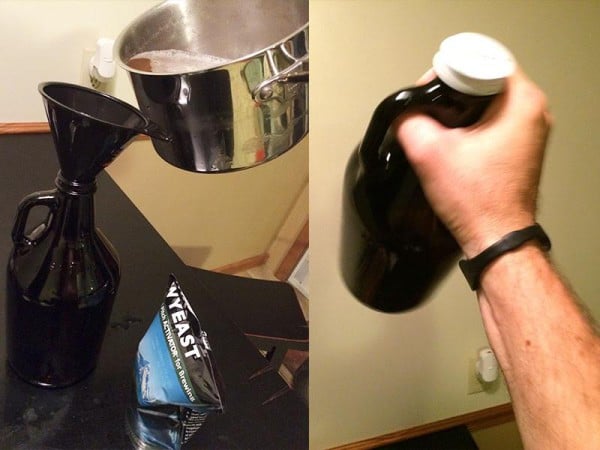
After you’ve effectively sanitized all your equipment use a small funnel (note: make sure that bad boy is sanitized!) and pour your cooled wort solution into the growler. Then, grab your Wyeast pack, which should be fully ballooned out by this point, and pour the contents into the growler.
Next, screw on your growler cap (do I even have to tell you to make sure it's sanitized?), and then shake that growler like it owes you money. Seriously, you really want to shake it as hard as you can for a good 3-5 minutes. With vigorous shaking, you'll smash the liquid into the sides of the container so you are effectively introducing oxygen particles and aerating your wort and yeast mixture. This is essential to the process, because the more oxygen you can aerate into the wort the better your yeast will perform since they require oxygen to feed. Ideally, you'll notice a thick, frothy head that indicates you've shaken things up like a champ and given the aeration process a big head start.
Once your arms go numb from shaking and you see a nice head developing on your wort, carefully twist off your growler cap (some CO2 will escape so have a paper towel nearby), and replace it with the rubber stopper and airlock. Then place the growler in a cool dark place for the next 2-3 days (until brew day), occasionally swirling the yeast slurry every couple hours (or at least a few times a day) to help keep it active until it's time to pitch. Pro tip: swirling is much gentler than shaking. If you shake your growler after you've put the airlock in, you're asking for a big mess to clean up.
And that, my friends, is it. If you've followed these steps, you've successfully created a Yeast Starter that you'll be very glad to have when brew day rolls around. Treating your yeast like this is a surefire way to promote active and complete fermentation so that your brew turns out just the way you plan.
Next up in the Homebrew 101: Brewing Your First Batch series: mash in on brew day.
Leave a Comment