
I’m a pretty avid home brewer (I even wrote a blog series about it), but I had never tried making hard cider. This year, I decided to give it a shot for the sake of my wife. Plain and simple, she dislikes beer (I know, I know…), but I wanted her to bask in the joy of home brewing with me. Since she refuses to try any of my (ahem, award-winning) beers, I knew hard cider was the only solution. And what I discovered is that cider making is a pretty simple process with a delicious payoff. Below are the steps I followed to bring my cider to fruition. (Get it?)
The Process
First step: gathering my ingredients. I live in New York, which is the second-largest apple producing state in the country, so finding freshly-pressed apple juice was easy. While I was at the mill, I also bought pure New York State maple syrup, which I figured would be a nice flavor addition to my first batch. Gotta love buying local.
Next step: pasteurization, which is the process of heating a liquid to kill pathogenic bacteria, ensuring that it’s safe to consume. You don’t HAVE to do this step; I just chose to because I wanted to be 100% sure that my batch was sterilized. If you choose to pasteurize, and your cider is chilled, let it come to room temperature the night before, then dump it in your homebrew kettle. Fire up the burner making sure not to let the cider come to a boil, which could allow pectin to set in and make for a cloudy finished product. You want to hit 160°F – 185°F (71°C – 85°C). At this point, you can also toss in half a crushed tablet of Campden to aid in warding off any wild yeasts. It isn’t essential, but it’s a nice addition if you have it on hand.
Once your cider hits the temperature marks, kill the burner and throw in all of your additives and adjuncts. An added benefit from pasteurization is that your cider is hot at this point, making it more conducive to infusion. I opted for three whole cinnamon sticks, 12 ounces of local maple syrup, and one cup of turbinado sugar. You could add anything from allspice to cardamom to orange peel. The sky’s the limit, really. Whatever you add, just give it a good stir.
After you cool your cider by way of a wort chiller, you’re ready to transfer it to a sterilized fermenter. Then pitch your yeast. (Mangrove Jack’s M02 Cider Yeast was my choice for this batch, but I’ve also heard that Safale-05 is a great yeast for ciders.) Just sprinkle the dried yeast on the cider and close the lid. Be sure to use an airlock.
After fermentation, I hoped the cider would be quite dry. The Mangrove yeast did not disappoint! If you prefer a sweeter cider, I recommend using 2-4 ounces of non-fermenting lactose. This will give your cider a little more body and a pleasant sweetness. Just add it to your kettle when you add your other additives (cinnamon, sugar, and maple syrup, in my case).
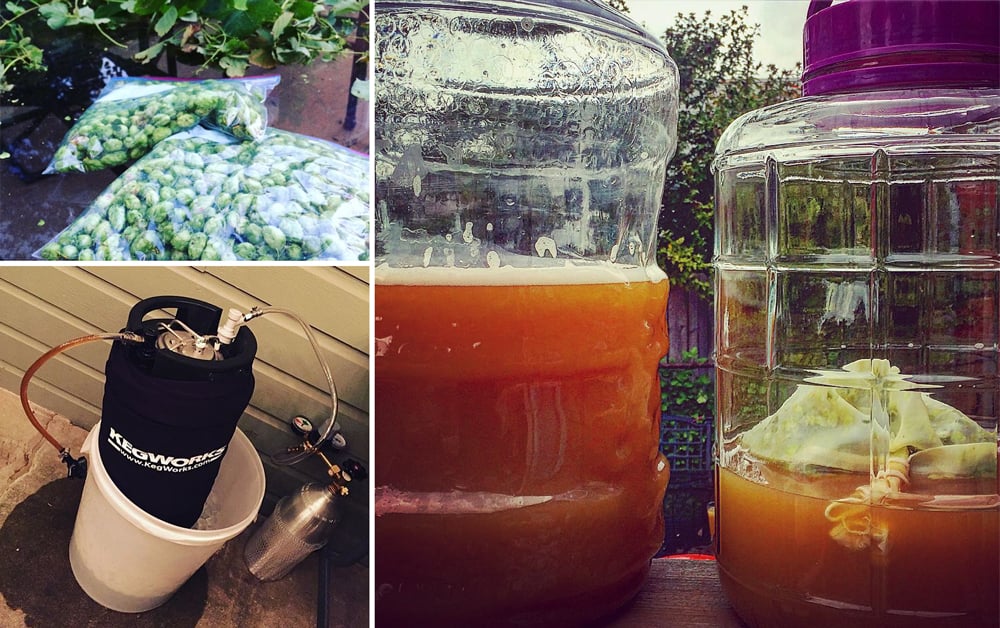
One additional note: I split the batches in secondary so that I could keg a batch (three-gallons worth). The additional two gallons I dry hopped using locally sourced cascade whole leaf hops and bottled for later consumption.
The Results
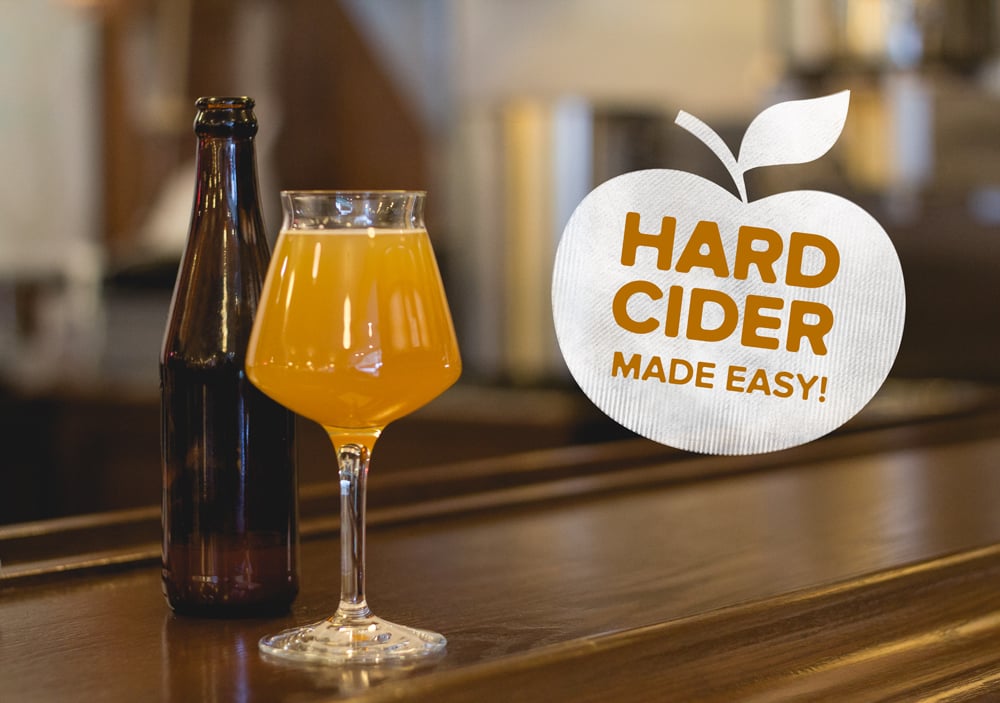
After two weeks of primary and three weeks of secondary fermentation, this batch turned out great. I kegged it for a tailgate party but also filled a few bottles for people to try at the office. The results were amazing! The overall flavor was refreshingly light and acidic with subtle hints of cinnamon. The fresh apples made a big difference in the juiciness of the brew. It had a well-balanced tartness with some subtle mineral notes. Overall, it was very drinkable and pleasant. Plus, my wife was swooning! I will 100% be making this again next year. Special thank you to Mayer Brothers of West Seneca, NY, for donating five gallons of their delicious cider for the experiment. https://views.guru/
Leave a Comment