How to Install Drink Rail: A Detailed Step-by-Step Guide
By Dave Buchanan | 12 March, 2026
architectural metalA drink rail is a hardworking bar detail designed to collect spillage from making and pouring drinks, protecting surrounding surfaces, and helping the bar stay sharp through peak service. It’s also a visual upgrade: a built-in, finished component that looks intentional and integrated, especially compared to the patchwork feel of rubber bar mats some establishments rely on.
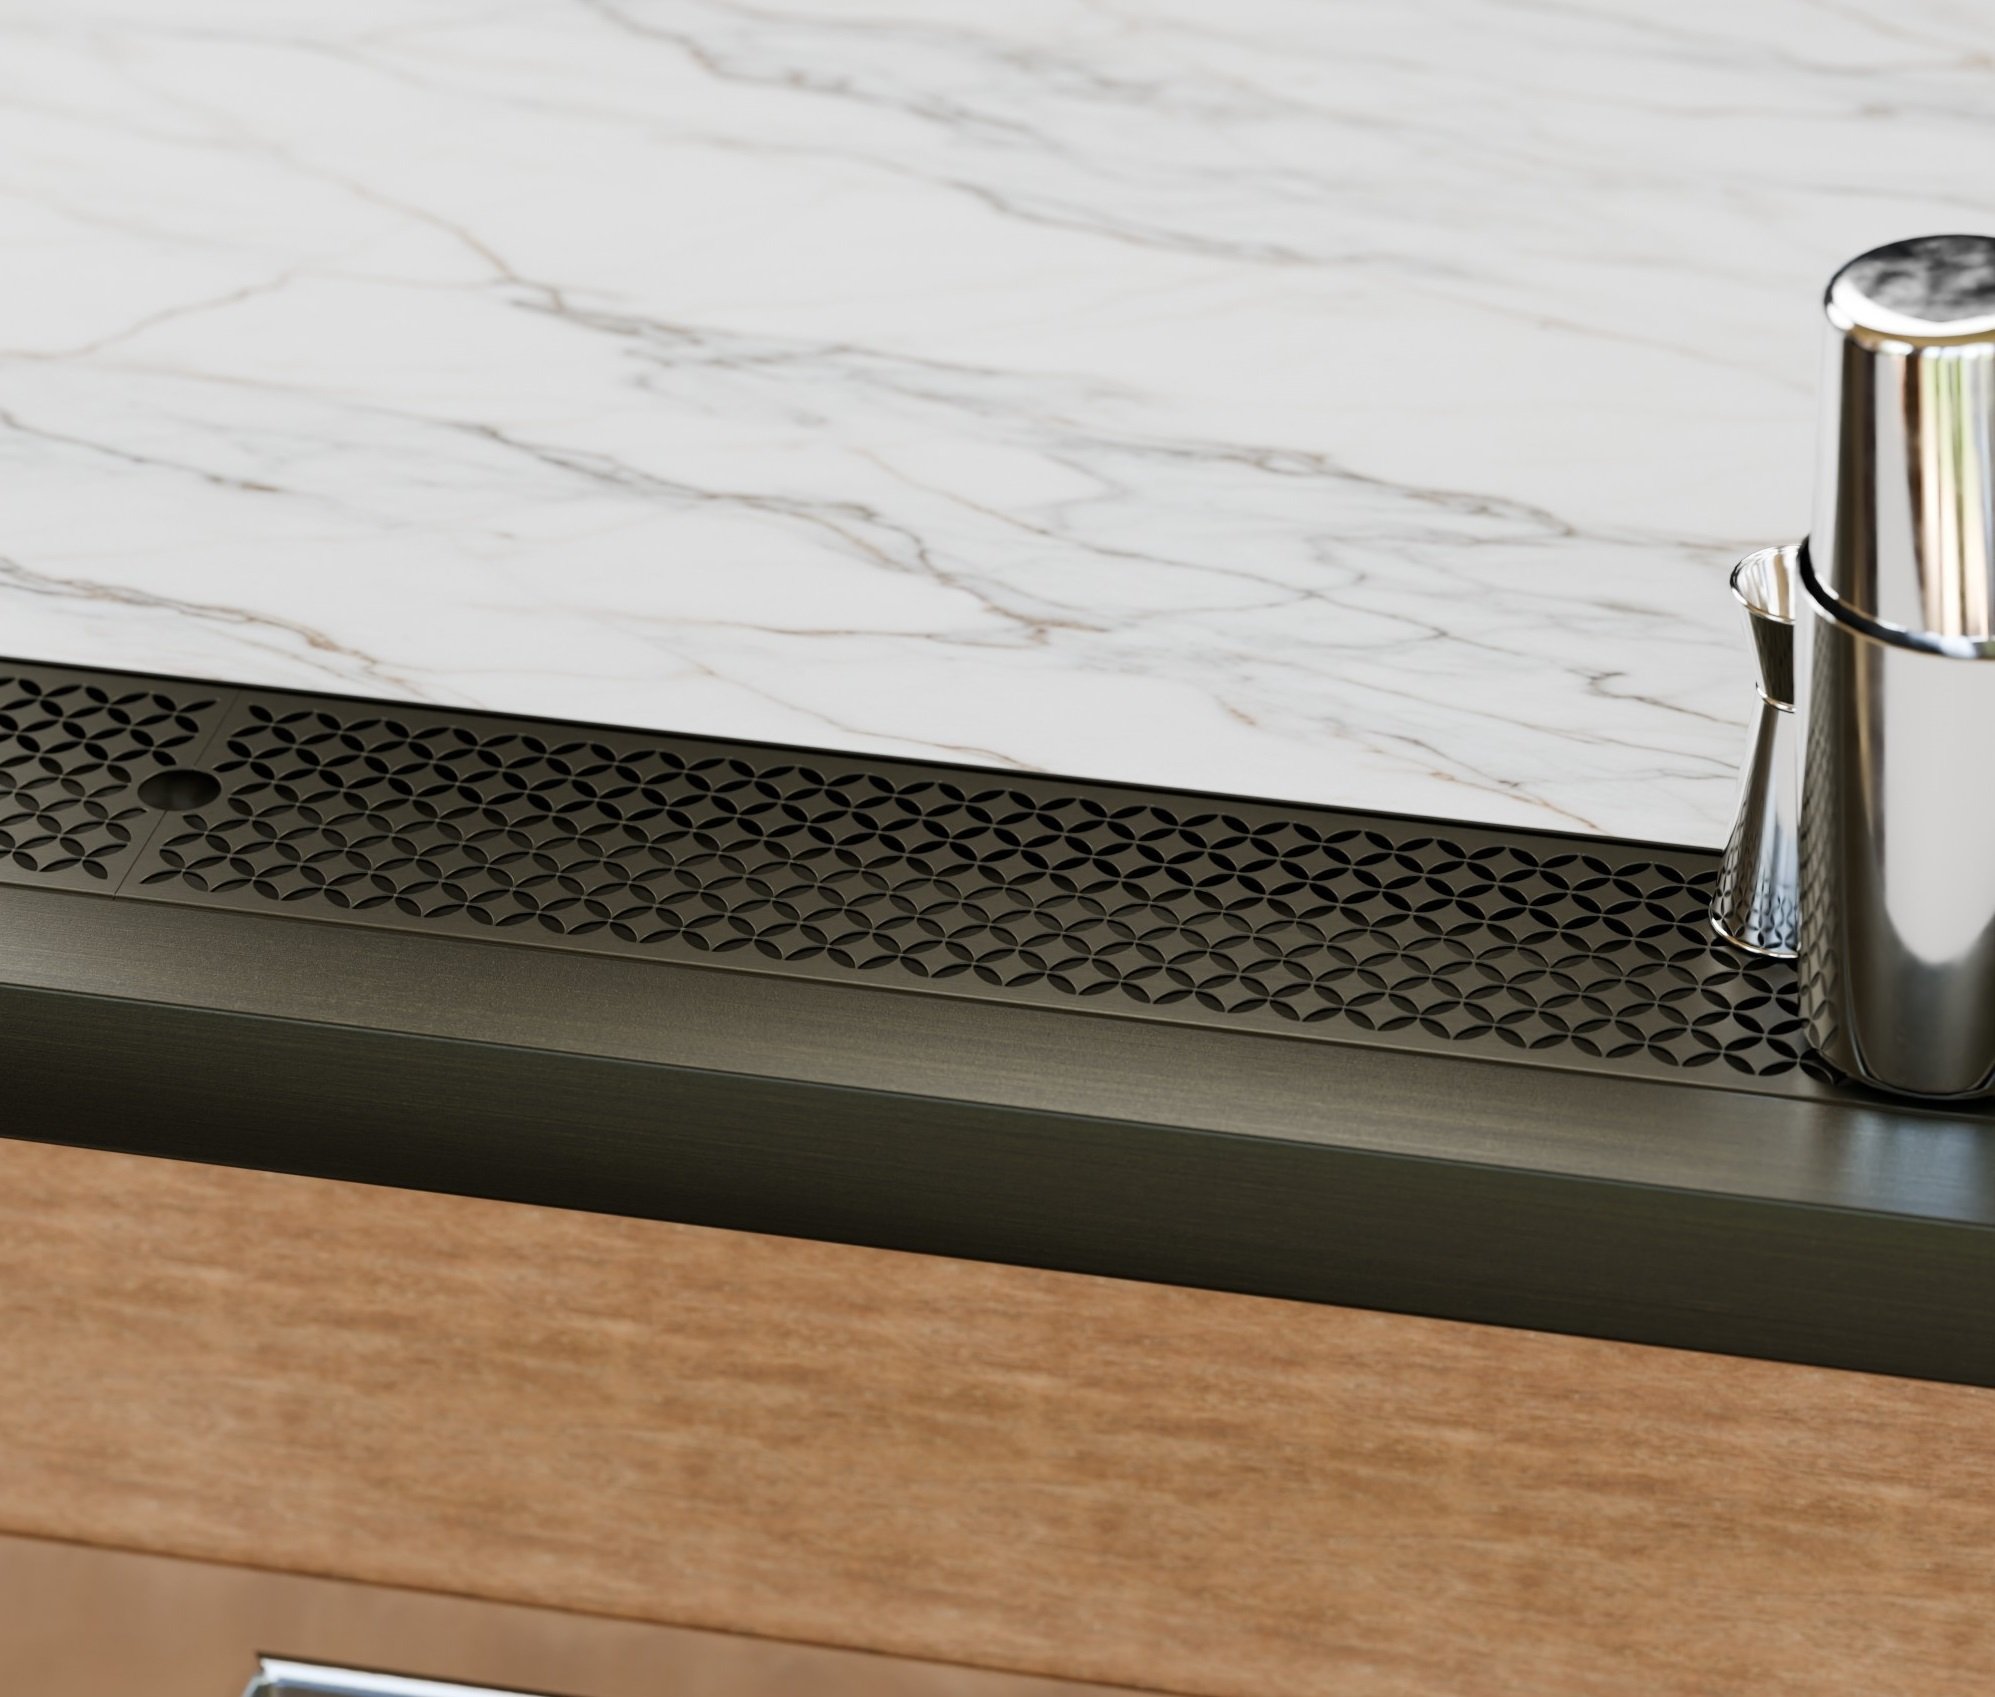
Installation is straightforward, but like any finishing detail, the difference between “installed” and “installed correctly” comes down to preparation, sequencing, and sealing.
Below is a comprehensive guide to installing drink rail systems from Kegworks.
Before You Begin: Create a Proper Seat
A drink rail must rest on a stable, level surface that’s typically a 4" wide “seat.”
If the countertop has not yet been installed:
Extend the subtop approximately 4 inches beyond the bar face on the bartender's side to create a proper seat.
If the countertop is already installed and does not include a seat:
You will need to create one using:
- A plywood extension supported by L-brackets
- Brackets alone
- Plywood adhered to the underside of the countertop and supported with brackets anchored to the bar wall
The seat must be:
- Structurally sound
- Fully supported along the length
- Level and flush
This foundation determines how clean and secure the final installation will be.
Method 1: Installing with existing countertop (Most Common)
This is the most widely used installation method and is ideal when the countertop is already set.
Step 1: Apply Adhesive to the Seat
Apply a generous amount of construction adhesive to the entire seat surface. Start at the corners and work outward to ensure even coverage. Do not leave gaps — full contact improves bonding and prevents moisture from collecting in openings.
Step 2: Apply Caulk to the Back Edge
Before placing the rail, apply a continuous bead of caulk along the back edge of the drink rail — the edge that will butt against the inside edge of the countertop. This step is critical. It creates a moisture barrier between the drink rail and the countertop, preventing liquid from seeping behind the rail.
Step 3: Start with Inside Corners (If Applicable)
If your installation includes inside corners, begin by setting the corner piece first. This establishes alignment for the rest of the run. (Skip this step for straight-only installations.) Press the corner firmly into the adhesive and seat it tightly against the countertop.
Step 4: Insert Joint Connectors
Insert a joint connector into the open end of the corner piece (or into the first straight section if no corner is used). Joint connectors maintain alignment and structural continuity between sections.
Step 5: Attach Straight Sections
Attach a straight run of drink rail to the exposed end of the joint connector and press it firmly into the adhesive.
As you move down the bar:
- Cut sections to length as needed
- Apply adhesive beneath each section
- Apply a generous amount of caulk under and behind each seam
- Clamp sections in place for tight seam contact
Work steadily and check alignment as you go. Small adjustments early prevent noticeable gaps later.
Step 6: Install End Caps
Glue end caps into place at both ends of the drink rail. Ensure they are fully seated and aligned before the adhesive sets.
Step 7: Seal All Seams
Finish by sealing:
- All seams between sections
- The back edge (if needed)
- Any visible joints
Use mildew-resistant clear adhesive or color-matched caulk.
Proper seam sealing prevents moisture intrusion and extends the life of both the drink rail and bar surface .
Wipe away excess immediately for a clean finish line.
Method 2: Install Before the Countertop (For Welded Seams)
This approach is most common when a welded, seamless appearance is desired. The 4" seat is still required.
Installation Sequence:
- Apply construction adhesive to the seat.
- Install corner and straight sections using joint connectors.
- Clamp in place for alignment.
- Install end caps.
- Weld all seams (or caulk if welding is not possible).
- Apply caulk to the back edge as the countertop is installed against the drink rail.
Welding creates a continuous surface and is often selected for high-end installations where visual continuity is a priority.
Professional Installation Tips
- Dry-fit all components before applying adhesive
- Start with corners to control alignment
- Use generous but controlled adhesive coverage
- Clamp seams for tighter joints
- Seal every seam — even those that appear tight
- Remove excess caulk before it skins over
Drink rails are exposed to constant moisture and repeated impact. A careful installation ensures durability, prevents hidden water damage, and keeps the finished edge looking intentional.
Why Proper Installation Matters
A drink rail does more than catch drips. It protects the bar top finish, reduces long-term maintenance issues, and maintains a crisp visual transition between surfaces. When seams are tight and moisture is sealed out, the rail performs exactly as intended, quietly and reliably.
Discover our complete line of drink rail systems, or contact our commercial team to request a custom solution built to your specifications.
Comments
More Topics
Related Posts
Fast Shipping
Quick Turnaround Times
Simple Returns
60-Day Return Policy
Secure Shopping
Through SSL Protection
Expert Support
Dedicated Sales Rep