
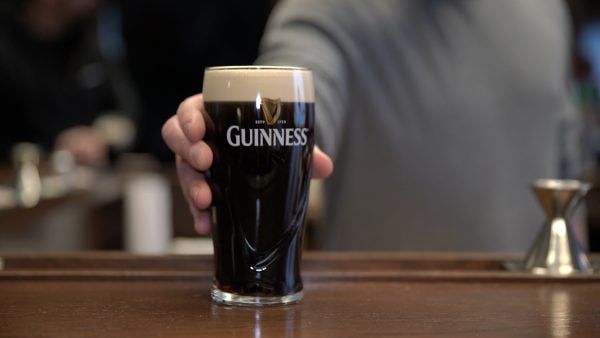
Guinness is world famous, and for good reason: it’s creamy and rich; it has a delightful Irish pedigree; and, at just 125 calories per 12-ounce serving, it’s relatively low in calories when compared to most non-light beers.
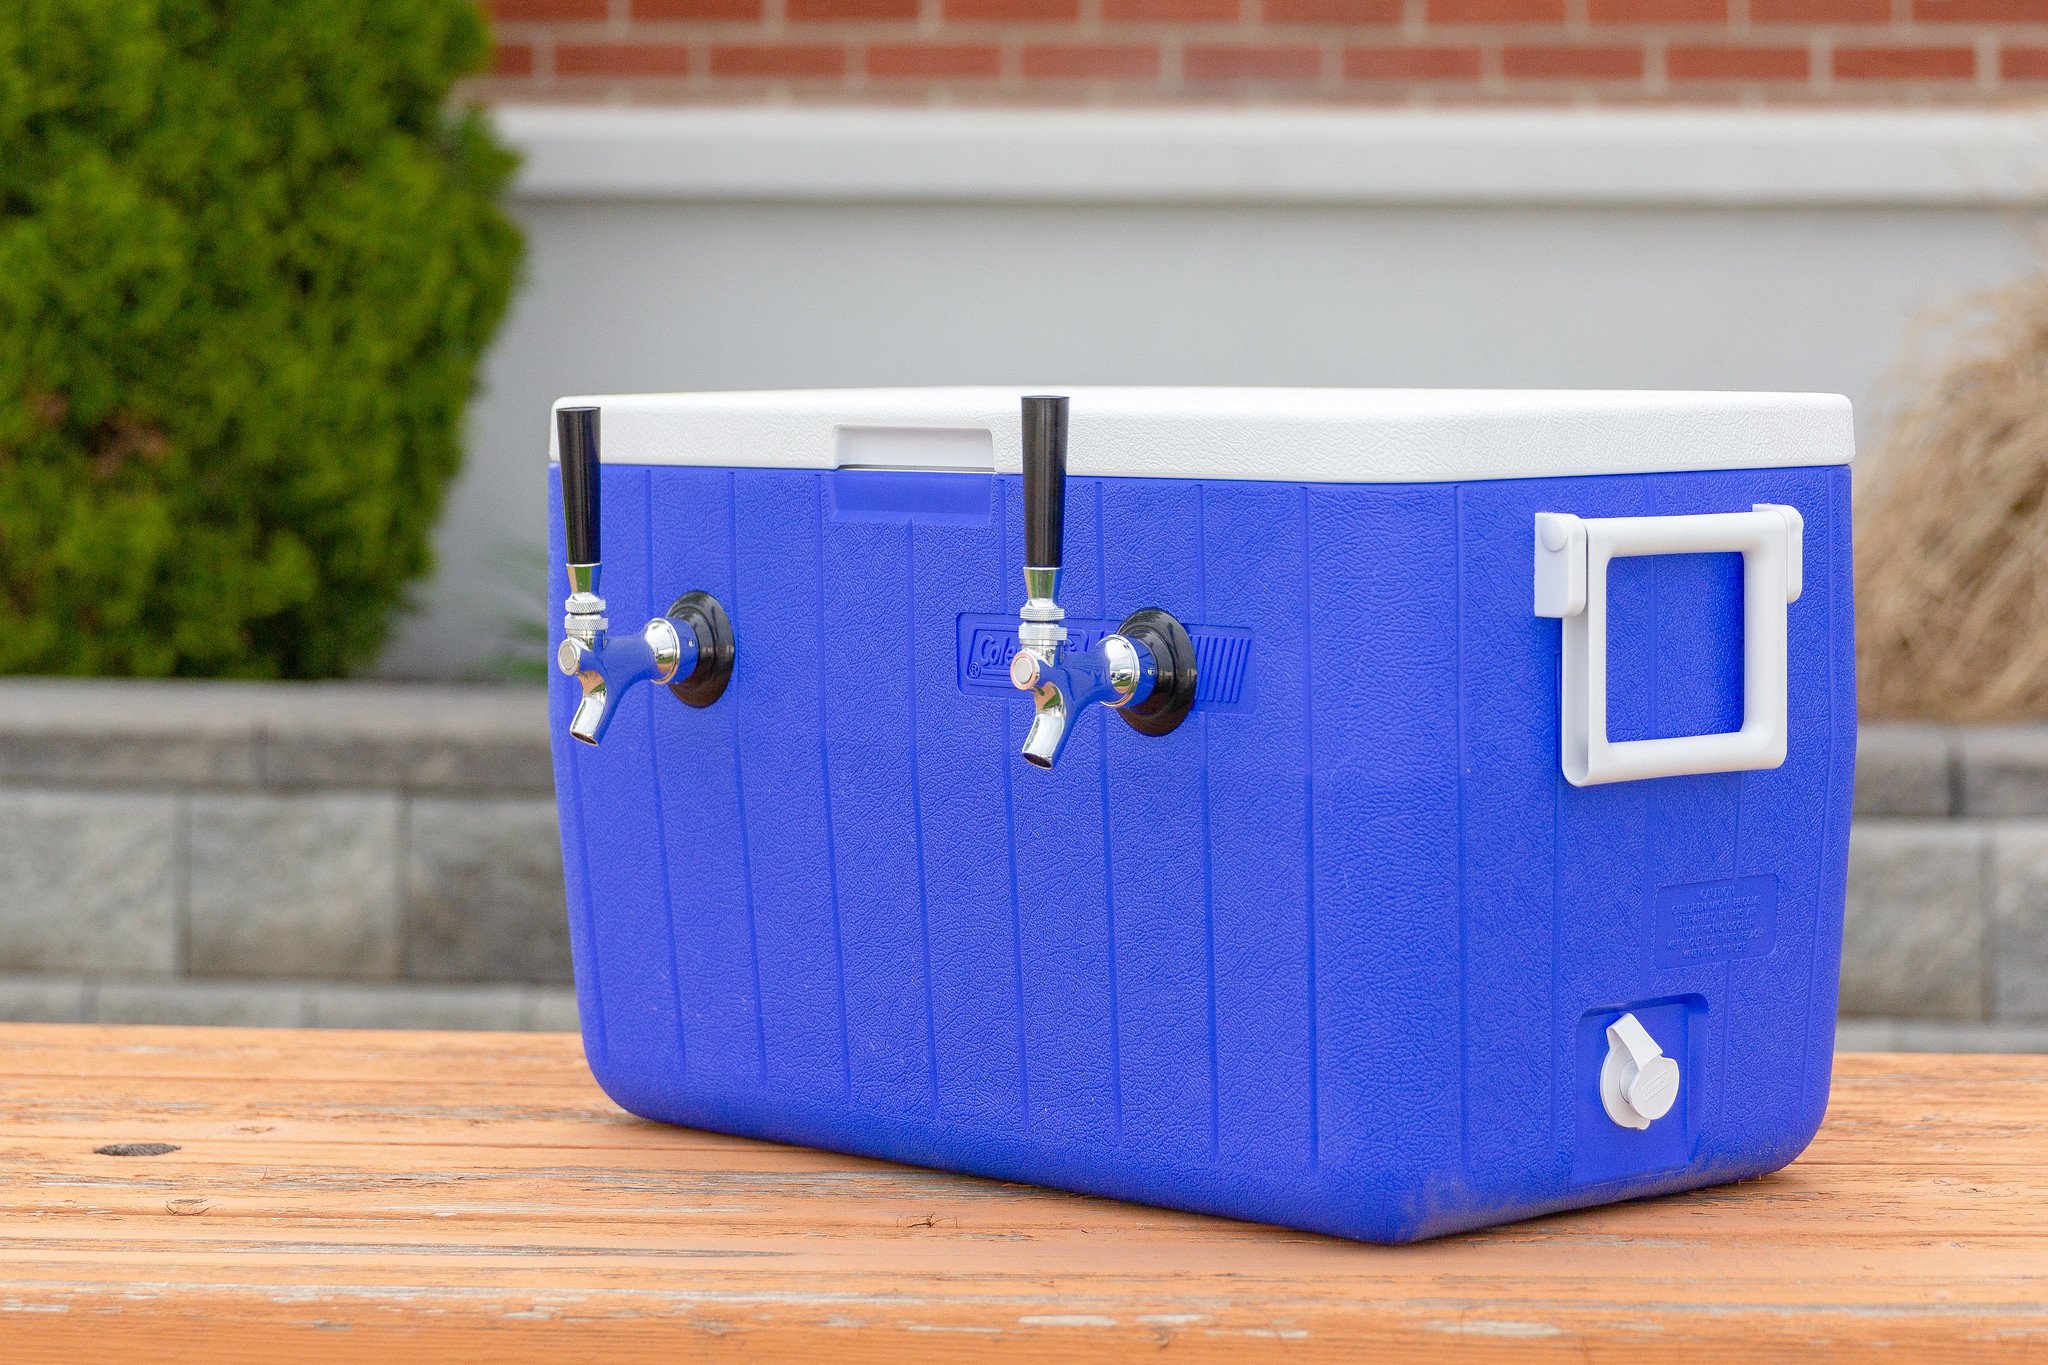
Guinness on draught is especially delicious. Thankfully, all you need to dispense a keg of Guinness (or any stout) at home is a Nitro stout system.
There are a couple of options to get the Guinness flowing. A Guinness draught kegerator includes all necessary components. Or, you can convert an existing kegerator for Guinness use with a Guinness kegerator conversion kit. Each option includes a stout faucet, Nitrogen regulator, U-system keg coupler, and all adapters needed for a proper connection. Whether you’re converting an existing system or installing new, you’ll also need a filled Nitrogen gas tank.
Getting Started
The draft beer equipment that you already have and your budget will determine which route you choose to get Guinness on tap at home. Regardless of the option you choose, there are four basic differences between a standard draft beer system and a Guinness draft system that you’ll want to keep in mind:
- The Type of Gas Used
- The Faucet
- The Keg Coupler
- The Keg
The Type of Gas Used
Guinness uses a nitrogen/CO2 blend of gas to push the beer through the lines rather than just CO2 like a traditional draft beer system. It’s that mixed Nitrogen gas that gives Guinness its tell-tale creamy, tight head. This mixed gas blend comes in a Nitrogen gas tank that contains 75% nitrogen and 25% CO2.
To find a mixed gas dealer in your area, it’s a good idea to ask your local Guinness distributor whom he or she recommends. The Guinness Import Company goes to great lengths to make sure that gas dealers are properly blending mixed gas. Many gas dealers are particular, and they will only fill a Nitrogen tank with mixed Nitrogen gas. Certain gas dealers will fill a regular CO2 tank with the mixed gas, given that the only difference between the two types of tanks is the threads.
We recommend using all Nitrogen components for a Guinness kegerator. However, this setup can be completed using either a CO2 regulator or air tank. If you are not using all Nitrogen components, there are two options to equip your system for Guinness:
- If using a Nitrogen regulator and CO2 air tank, you will need this adapter to connect them.
- If using a CO2 regulator and Nitrogen air tank, you will need this adapter to connect them.
The Faucet
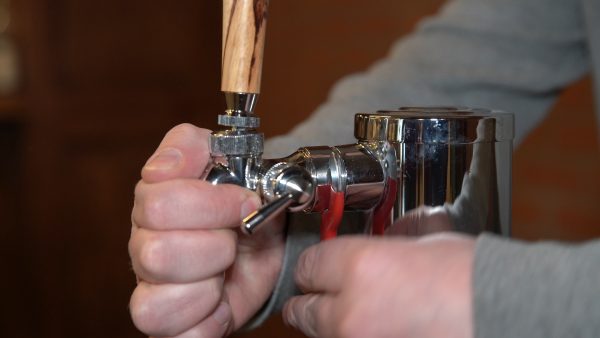
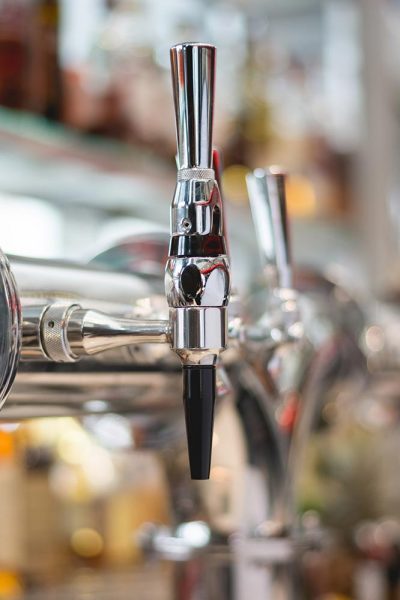 A stout faucet is essential to achieving the cascading effect that is a staple of Guinness on tap.
If you've ever watched a bartender pour a pint of Guinness, you've probably noticed that a stout faucet is different from other faucets. Sometimes called a European Specialty Faucet, the stout faucet has a different type of handle that pulls forward and down. There's also a tiny restrictor disc inside the faucet head. When Guinness and other stouts are forced through the disc, the beer forms the unique head that people love. To dispense any other type of beer (i.e.: Bud, Miller, Coors etc.) with one of these specialty faucets, all you need to do is remove the restrictor disc.
The Keg Coupler
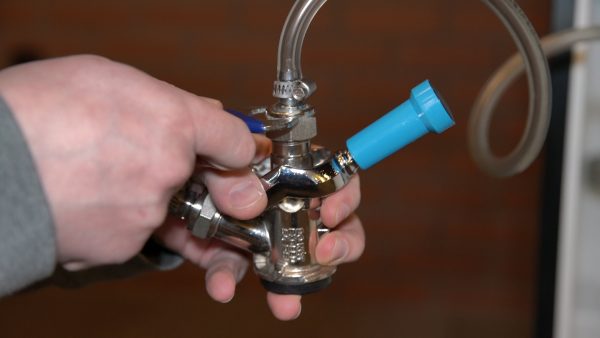
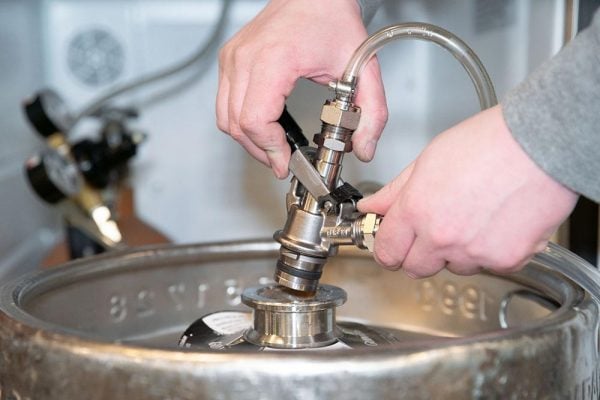 Guinness and many other stouts are poured using a U-system keg coupler.
A keg of Guinness requires a U System Keg Coupler. If using this setup to pour a different stout, be sure to check this keg coupler list to ensure you have the right coupler to match the beer you want to pour.
The Keg
It can take a keg three or four times as long to chill as it does to warm up. Prior to tapping it, allow the new keg to sit for 24 hours in a refrigerator that is set as close as possible to 42°F, the perfect temperature for Guinness draught. This also allows the new keg to settle. The delivery process can lead to the beer becoming over-carbonated and foamy.
How to Get Guinness on Tap: Step by Step
Parts You’ll Need
For complete installation, the following parts are necessary:
- Nitrogen gas tank
- Nitrogen regulator
- Nitro stout faucet
- U-system keg coupler
- Combination hex nut and spanner wrench
- CO2 air tank wrench
- Guinness keg
- Rubber washers
- Screw clamps
- Beer line
- Air line
- Standard flathead screwdriver or nut driver
Disconnecting Your Current CO2 System
If you already have a standard CO2 draft system setup, follow these steps to disconnect your system prior to installing the Guinness components. If starting from scratch, skip ahead to the “Setting up a New Guinness Draught System” section.
Step 1: Turn off air flow from previous keg.
As soon as the previous keg appears to be kicked or very close to it, turn off the air flow from the compressed air tank by moving the shut-off valve perpendicular to the air line. This will save you the trouble of dealing with glass after glass of foam, which leads to a longer process of cleaning your beer lines.
Step 2: Remove keg coupler.
Lift up the keg coupler handle and turn it approximately 180-degrees counterclockwise on the keg. The coupler will then be easy to remove from the top of the keg.
Step 3: Disconnect CO2 regulator from CO2 tank inlet nut.
Use a CO2 wrench to remove the CO2 regulator from the inlet nut attachment on the CO2 air tank.

Step 4: Disconnect CO2 regulator from air line.
If the air line connection is attached with a screw clamp, use a flathead screwdriver or a nut driver to remove or loosen the screw clamp connection before removing the CO2 keg regulator.
Step 5: Remove air line from keg coupler.
If attached with a screw clamp, use a flathead screwdriver or a nut driver to loosen the screw clamp before removing the air line from its connection with the keg coupler.
Step 6: Remove beer line from keg coupler.
Use a hex nut wrench to unscrew the beer line connection from the top of the keg coupler.
Step 7: Remove beer faucet.
Use a spanner wrench, also known as a draft beer faucet wrench, to unscrew the standard CO2 faucet from its perch on the draft beer tower.
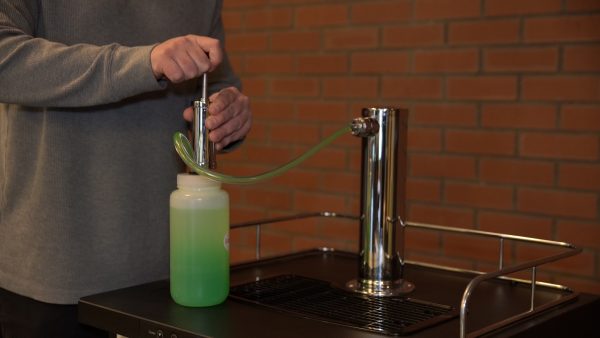
Step 8: Clean beer lines.
Especially when changing beers in your system, regular cleaning is a necessity. Continued cleaning of your system will prevent off-tasting beer in the future. Clean beer lines will avoid the issue of old beer in your draft lines affecting the taste of the Guinness.
With a beer line cleaning kit, add cleaning solution to the plastic jar, attach the jar to the beer faucet with the faucet attachment, and place a basin under the other end of the beer lines for the liquid to empty into. Pump the line cleaning solution through the system to clean the beer lines.
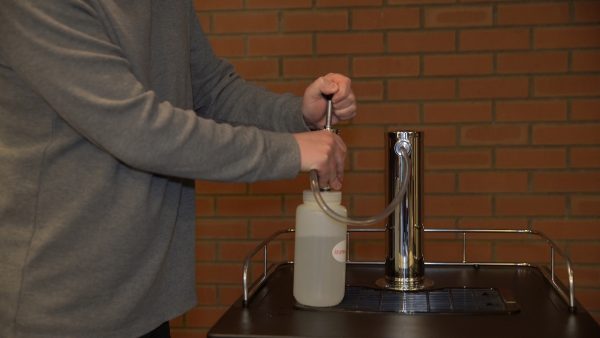
Step 9: Rinse beer lines.
After cleaning the beer lines, fully rinse the plastic jar of all cleaning solution and then refill it with water. Repeat the same cleaning steps, this time pumping water through the beer lines into the basin. Hand-pump the water through the system until the liquid leaving the lines is completely clear.
Setting up a New Guinness Draught System
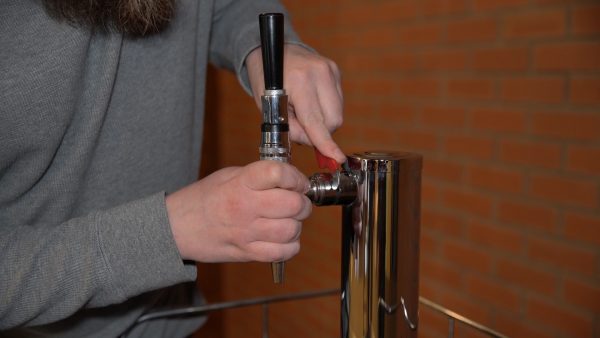
Step 1: Attach Nitro stout faucet.
A Nitro faucet will screw directly into a beer tower using a standard beer faucet wrench.
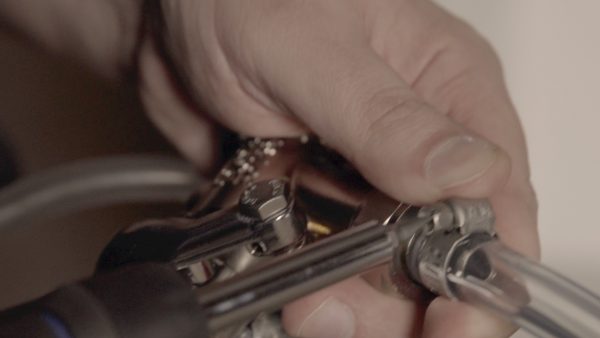
Step 2: Connect beer line to U-system keg coupler.
Guinness draught is poured using a U-system coupler. As with any connection where two pieces of metal come into contact, a rubber washer should be used to attach the beer line to the keg coupler. Attach the washer before connecting the line. Firmly screw the line onto the top of the coupler, and use a hex nut wrench to ensure a tight seal.
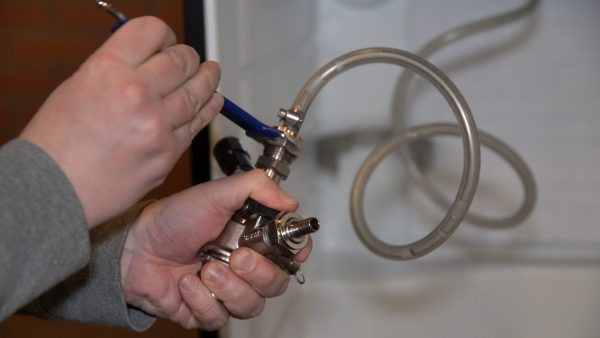
Step 3: Connect air line to U coupler.
Attach the opposite end of the air line to the hose barb, which is the opening on the side of the keg coupler. As with other beer and air line connections, you may have to use some force as you attach the line to the hose barb for a secure seal. Use a screwdriver to attach a screw clamp, ensuring a tight connection.

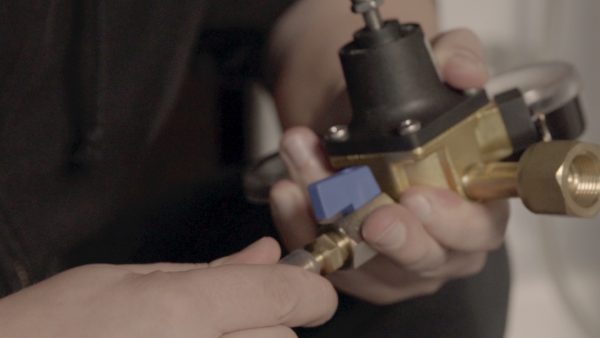
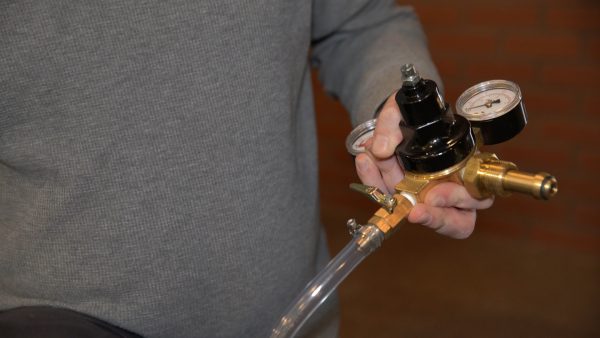
Step 4: Attach air line to Nitrogen regulator.
Attach one end of the air line to a Nitrogen regulator. Use a standard flathead screwdriver or a nut driver to attach the screw clamp securely. The shut off valve should still be turned to the OFF position, which is perpendicular to the air line.
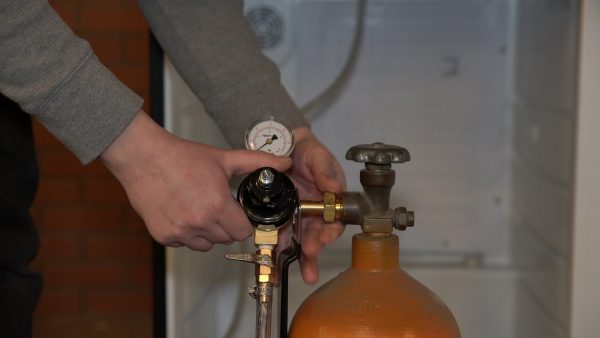
Step 5: Attach Nitrogen regulator to Nitrogen air tank.
A Nitrogen regulator screws into the inside of the Nitrogen air tank. Just like a CO2 regulator, a Nitrogen regulator can be tightened with a CO2 wrench. Most Nitrogen regulators come equipped with a rubber fitting built inside them to connect to the air tank.
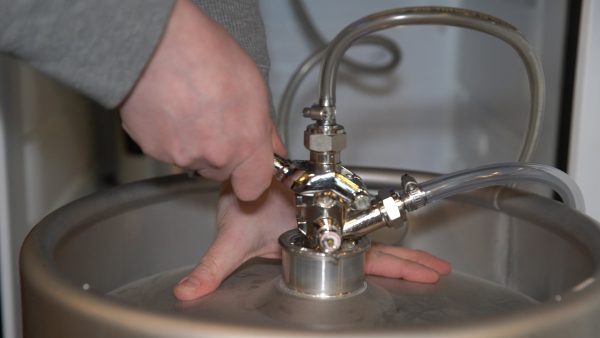
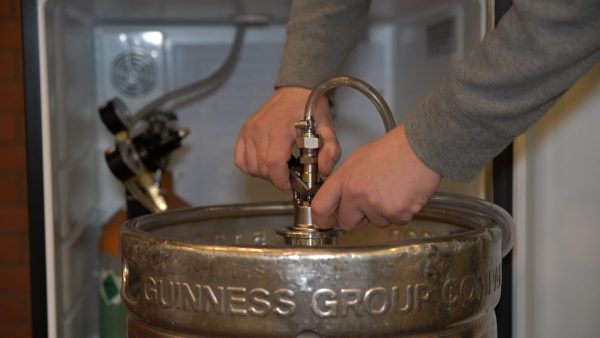
Step 6: Attach coupler to Guinness keg.
The coupler will fit into the grooves atop the keg. First rotate the coupler approximately 180° into the keg, creating a firm seal. Then, pull the coupler handle out while pushing the handle downwards, until the handle is lowered and in the engaged position. Beer should enter the vinyl line at this point.
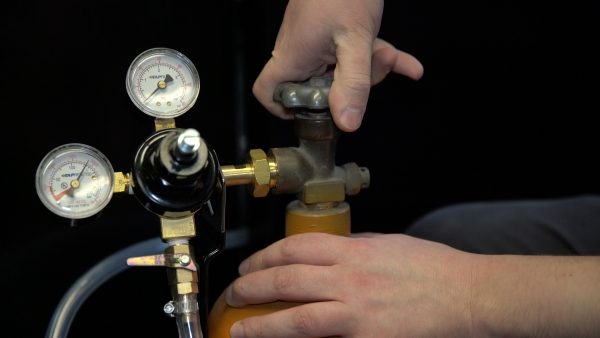
Step 7: Open up the Nitro air tank.
Two quick steps are needed to open up the air tank and pump Nitrogen through your system. Turn the hand wheel counterclockwise to engage the air tank, and move the shut-off valve at the bottom of the regulator to the ON position, which will mean it is facing downwards, or parallel to the regulator output barb and the air line attached to it. You will hear the flow of gas entering the draft system when it’s turned on.
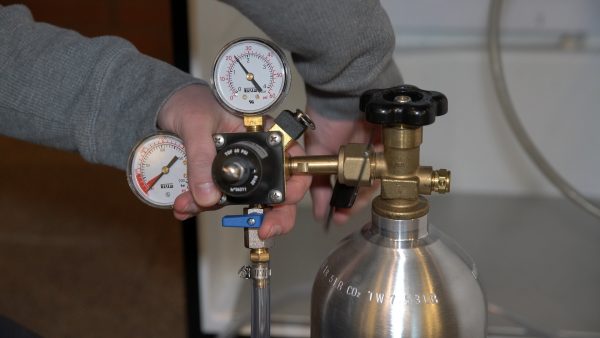
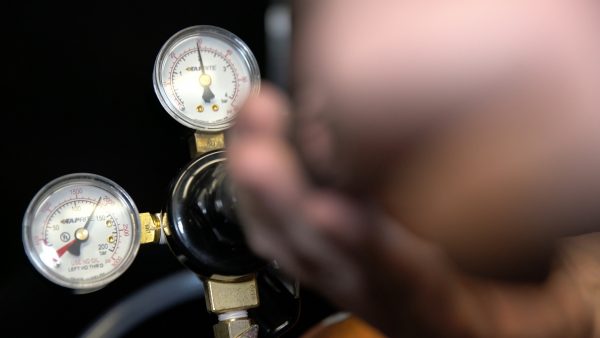
Step 8: Set the Nitrogen regulator to 30-35 PSI.
Guinness is poured between 30-35 PSI. Use a flathead screwdriver to adjust the pressure until the 0-60 PSI low-pressure gauge is at 30-35 PSI. This system was first set at 30 PSI, but poured better after it was adjusted to 35 PSI. Factors such as altitude and the temperature that the beer is being poured at can affect the PSI level needed to pour the perfect Guinness pint.
The 0-3000 high-pressure gauge will not be moving as you move the pressure adjuster, as this measures the amount of air remaining in the tank.
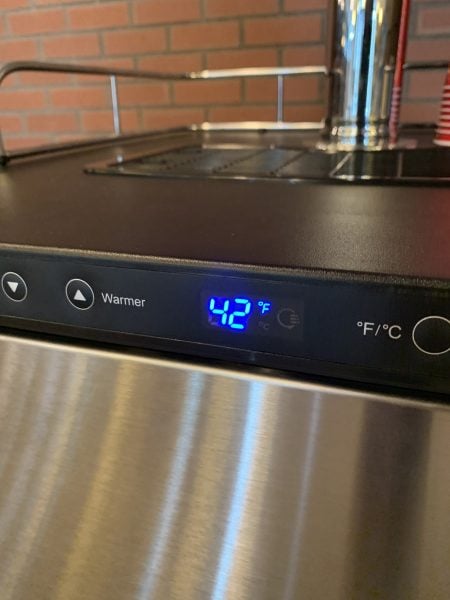
Step 9: Set temperature to 42°F.
While most beers are served at approximately 38°F, the ideal Guinness draught temperature is 42°F.
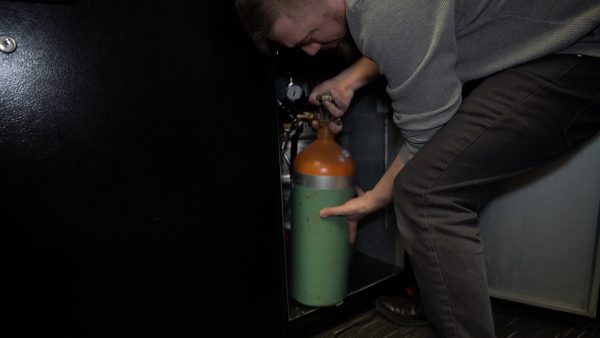
Step 10: Carefully place air tank in kegerator fridge.
Use care to place the Nitrogen air tank in a spot either inside or outside keg fridge where it is secured and will not tip over. Kegerator fridges typically include an air tank cylinder to secure the tank in place.
Step 11: Pour your Guinness!
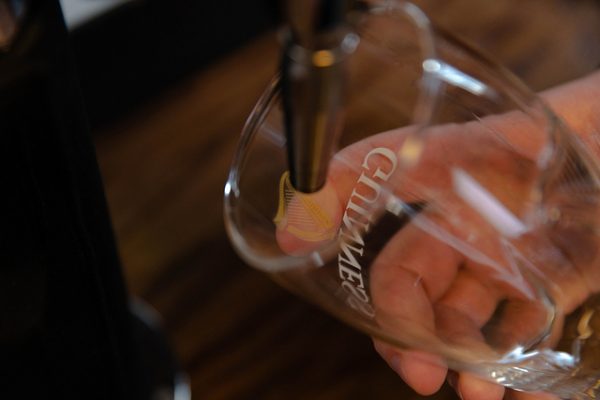
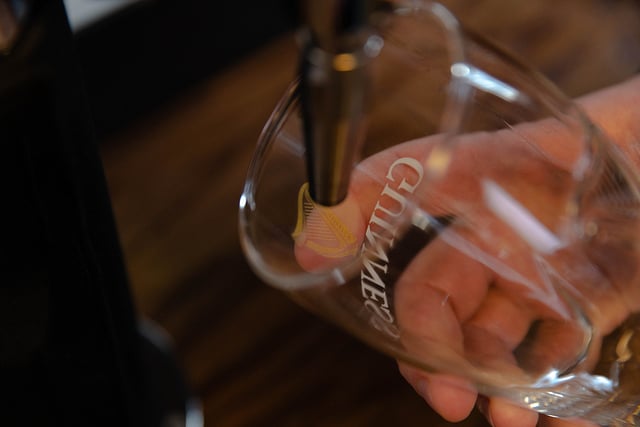
The importance of the proper way to pour a Guinness is heavily debated among beer lovers. How to pour a Guinness:
Use a Guinness-branded glass. Hold the glass on the bottom with your pointer finger on the golden harp logo. While holding the glass at a 45-degree angle, aim the spout at the golden harp logo. Pull the spout toward you and fill the glass until it is three-quarters full. Allow the beer to surge, or cascade, for approximately 1.5 minutes. Push the tap away from you to fill the remainder of the glass and top off your Guinness with a perfect foamy head. Look to the horizon. Stand proud. Enjoy your Guinness.
With this new kegerator setup, your Guinness will be pouring with its trademark cascading effect and foamy head shortly after installation.

KegWorks
KegWorks has been selling cool tools for drinking and serving knowledge on tap since 1998. We are all about enjoying good drinks with good friends.
Leave a Comment